A running toilet is nothing more than a puzzle. If you understand the pieces and you have a few minutes you can fix it.
Why Toilets Keep Running
A toilet is a combination of two valves — and input valve and a flush valve — with a handle for activating the flush valve. All the components are surrounded by a water tank.
The bottom of the toiler is connected to a cold water line which has water pressure behind it, so it wants to fill. There is an input valve that will allow the toilet to fill so long as the water is below the fill line. As soon as you hit the line, or go above it, the input valve will stop the inflow of water. When the water goes below the fill level, the input value will have more water come in.
So, to answer the question of why your toilet keeps running, it’s because the water level in the tank is too low.
Why is the water level too low? Typically this happens because there is a slow leak at the bottom of the toilet — where the water leaves the tank.
The water in a toilet leaves the tank when the handle is pulled and the flush valve is activated. The flush valve is normally a flapper (a flat rubber piece that is lifted from one side) but it might also be a hard plastic column. The valve works with a gasket at the bottom of the tank to create a good seal so the water doesn’t slowly leak out of the bottom, causing the toilet to run constantly.
So, if your toilet is running then the flapper is normally not seated properly, the flapper is worn out, or the gasket is worn out.
Alternatively, there is a chance that the fill valve is broken. What would happen here is that the fill valve is taking in water because it thinks the water level is low. A stuck fill valve will think that the water level is always low, it will keep filling, and then toilet will keep running, with the extra water being dumped into the overflow.
No Fix Required?
Before you do anything, remove the top of the toilet tank and look at the fill valve. It will be a tall column on the same side as the water input. This will have some way of recognizing the water level — either a balloon-like float on a stick or an internal mechanism — which will pull in water so long as the water level is low and top when the water level is correct.
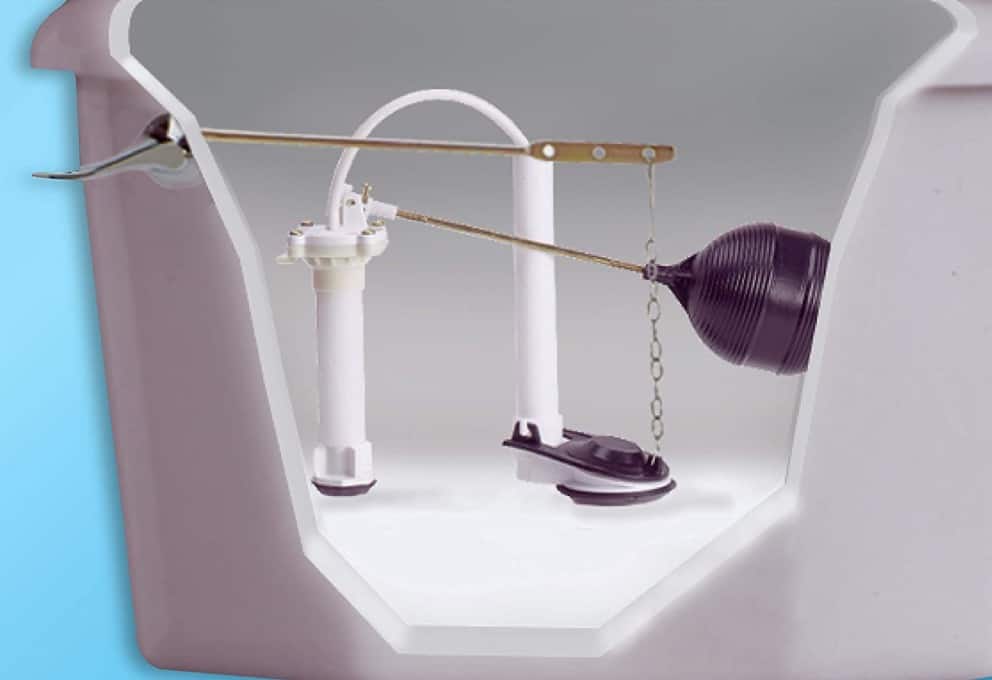
Float valves are fickle and they aren’t used that often any more, so consider replacing it if you have one. The good news though is that you can adjust float valves and possibly prevent the water from overfilling and running. You’ll likely need to unscrew the balloon piece by a few turns in order to get the valve stop running at a lower water level.
If this doesn’t work you can work with the adjustment screws at the top of the fill valve in order to have the toilet stop filling at a lower point.
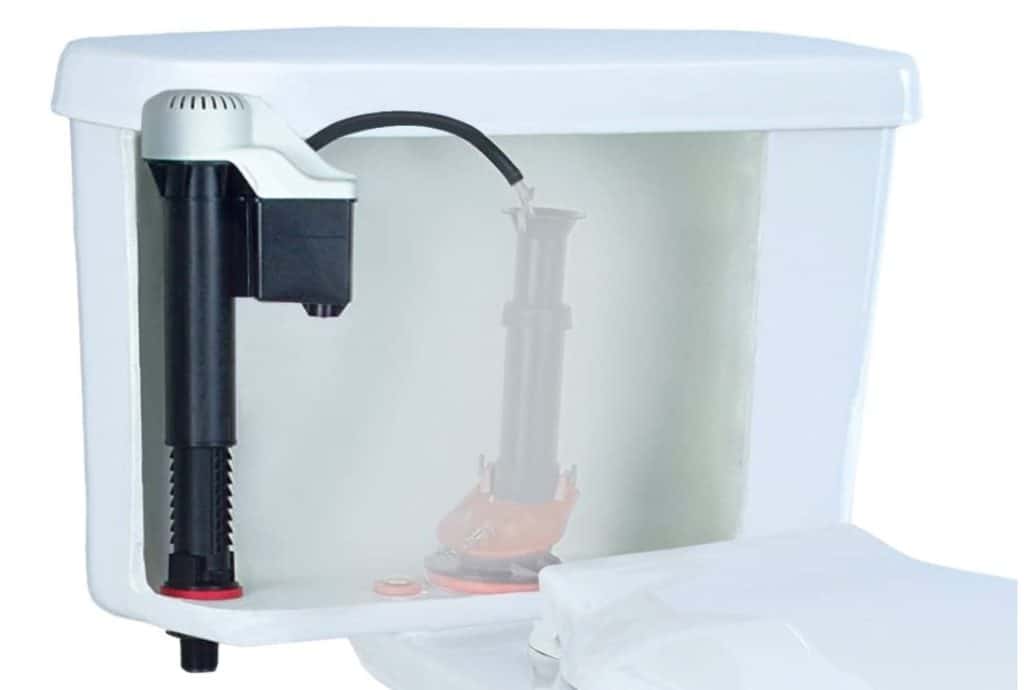
If you have a new style fill valve it still has a float, it’s just smaller. You’ll want to make sure the float is working properly and it’s turning off when it should. If the float is stuck and it’s not going up, then the valve won’t turn off and the water will just keep flowing, with the excess water going in to the overflow.
This is basically a best-case scenario since you’ll just need to adjust or un-jamb the fill valve and you’ll be done.
If this doesn’t work, you can replace the fill valve entirely. This job will cost you about $10 and take only 15 minutes. No tools are required, you just need the fill valve and a bucket.
Having done this job many times I’d recommend the Korky 528MP universal toilet fill valve.
Fault Flapper?
So, at this stage we’ve ruled out or replaced the input valve and the handle, checking to make sure that the flap opens and shuts properly.
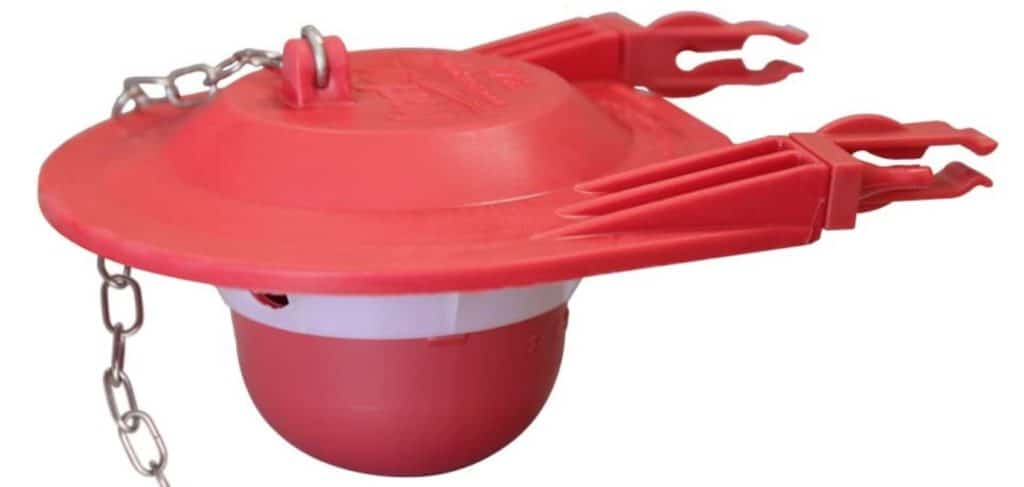
Now, you’ll want to turn off the water flowing to the tank, empty the tank (by flushing the toilet), and look at the flapper. Does the flapper appear mis-aligned, cracked, or worn out? If so you might be able to get away with only replacing the flapper with a universal flapper. This is a $5 part and a 5 minute job to pull it out, put the new one in and then replace the chain that leads to the handle arm.
A universal flapper will work most of the time as the gasket below the flapper (the piece that creates the seal around the porcelain) is less likely to be worn out than any of the moving parts. Still, if this doesn’t work, you’ll need to do the full fix: replacing the flush valve assembly.
Full Toilet Fix: Parts Required
To do a full fix of your toilet and stop the running, you’ll likely need:
- Fill valve
- Flush Value
- OR a universal kit
As discussed in our toilet fixing article, the fill valve is easy to replace with a universal part from Korky or FluidMaster, but the flush valve is a longer job and will require taking the tank off.
Also, while flush valve are nearly universal, you will need to look inside the tank or look up your toilet model, and figure out if you need a 2-inch or a 3-inch model.
Once you know the flush valve size, you can piece together the valves or buy a universal kit. Here are some popular options:
Keep in mind that Toto toilets will often have specialized parts and many Kohler toilets use a plastic column, which you can convert to a flapper or keep as is. It’s simpler to just keep it, even though Kohler parts are sometimes a few dollars more.
Tools Required
To do the job you’ll need:
- Pliers
- Bucket
- Clean up rags
- Large channel lock (4-inch opening if you have a 3-inch toilet, less for a 2-inch) or an adjustable plumber’s wrench
- Rubber gloves (optional)
The best advice will you will get here is A) to follow the included instructions very closely and B) don’t overtighten anything.
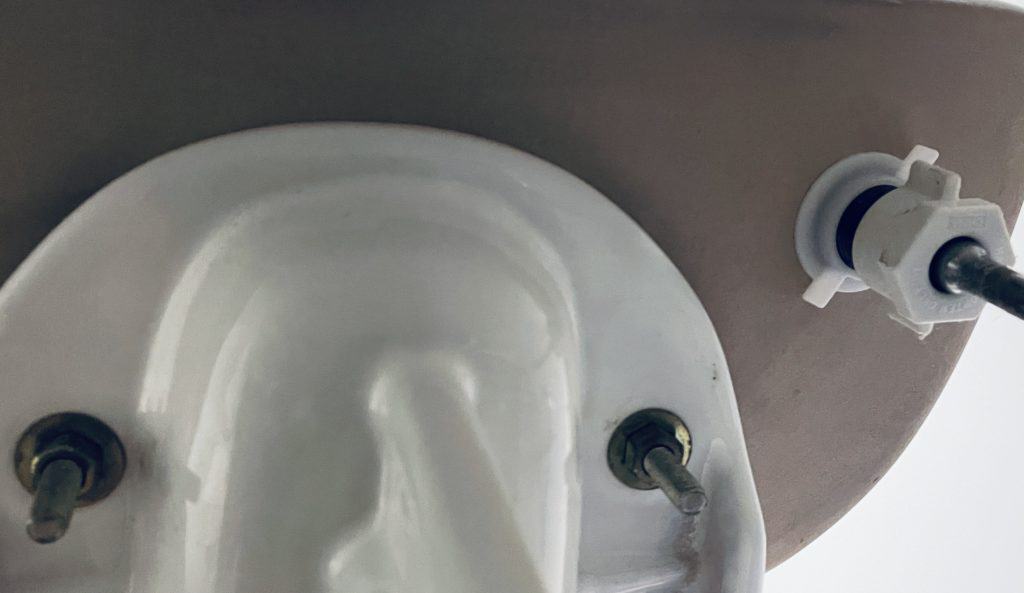
Long story short, after recognizing the flapper wasn’t the issue, you can full drain the tank using your rags to sop up any water and then unscrew the tank using the two bolts on the bottom that hold it in place.
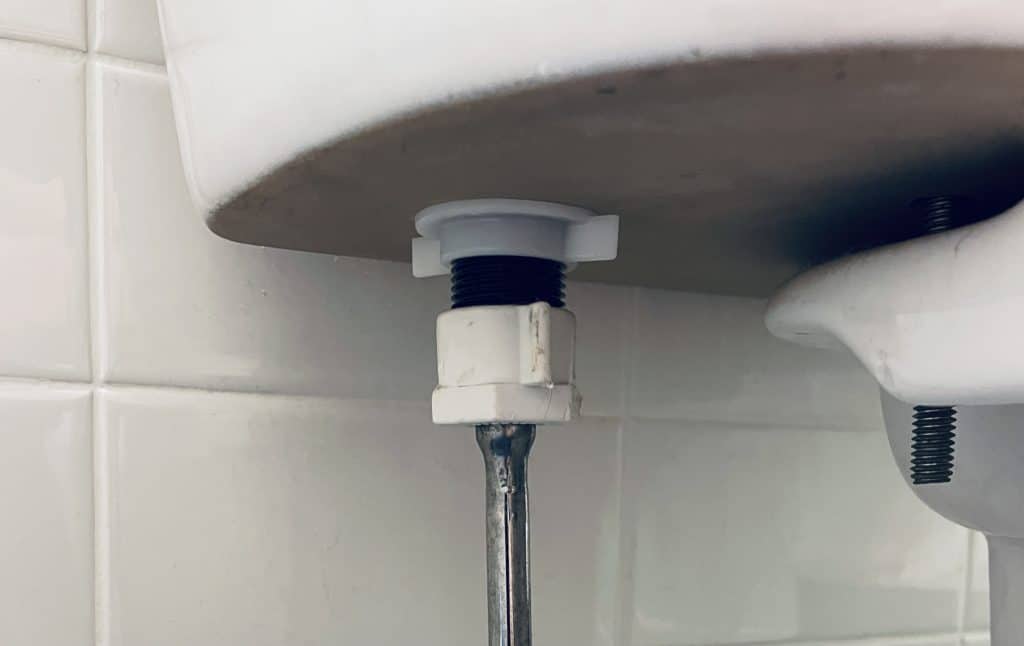
Now get the tank and put it down on an old towel on the floor. Look at the underside of the toilet and you’ll see a metal clip assembly, called the plate, the holds the valve in place.
Take all the old parts off the plate. Be careful to observe the tightness level of the big nut that holds everything together. This is the part that you don’t want to over-tighten, since you could crack the porcelain.
With the old parts off, replace the gasket and the the nut, and everything else, being careful that everything is properly seated and not too loose or tight. With everything stable, but the flapper back in place and reattach the tank to the toilet.
If everything looks good, then turn the water on and water the tank fill. Give it a few flushes to make sure the action works.
Now just watch for leaks over the next few days and make sure everything was properly seated and tighten. The chance of the toilet running will be pretty much zero at this point, you’ll just want to make sure that everything was installed properly, which you’ll know when there are no leaks after a few days.

