• Skip to primary navigation
  • Skip to main content
  • Skip to primary sidebar
Help At My Home

Help At My Home

Helpful Tips and Guides for Your Home

  • Buying Guides
    • Best Air Compressors
    • Best Home Garbage Disposals
    • Quietest Fan For Sleeping
    • Best Deer Fence
  • About
  • Show Search
Hide Search
How To Build A Black+Decker WorkMate 125 Portable Workbench
We select and review products independently. If you buy through affiliate links, we may earn commissions, which help support the site.

How To Build A Black+Decker WorkMate 125 Portable Workbench

06/24/2021 by HelpAtMyHome Staff

If you recently purchased a Black+Decker WorkMate 125 portable workbench — and there is a good chance you did because it’s a perennial Amazon.com best seller — you might be having some problems putting it together.

Don’t worry! We’ve done this job before and can walk you through the process.

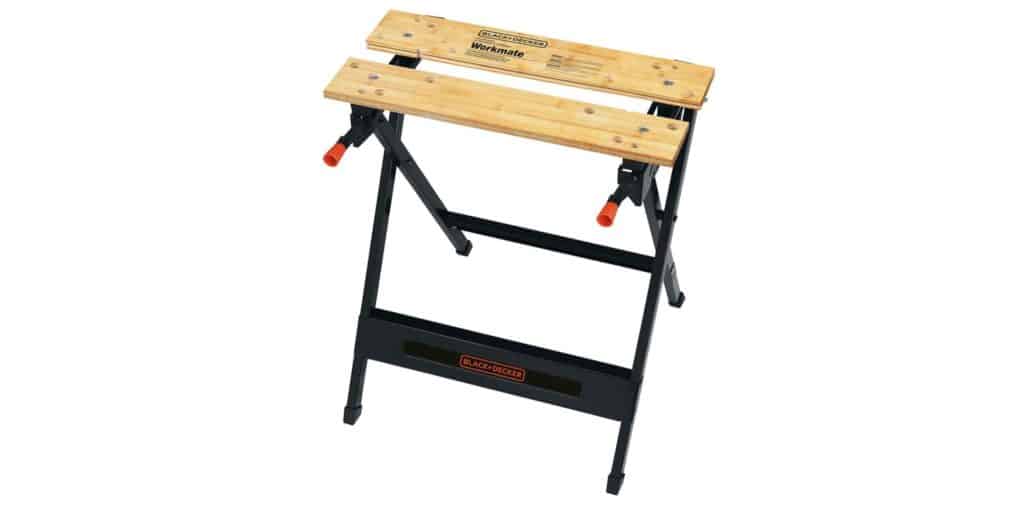
The Black+Decker WorkMate 125 is a folding workbench with a built-in clamp, metal legs, and handsome wood top. It’s sometimes sold as the “Workmate Portable Project Center and Vise” or by its model name, the WM125. It’s the thing in the picture at the top of this article!

People love this workbench because it’s light, it has a 300+ pounds capacity, and it can fold and hang on your wall. Plus it has a handy vice build right into the top.

The thing is that the WorkMate isn’t super easy to build. The clamp system is a little bit confusing.

Table of Contents show
1 How To Build A WorkMate 125 Video
2 Instruction Aids

How To Build A WorkMate 125 Video

Sometime visual methods are the best. The included manual with the WorkMate 125 isn’t entirely clear on a few steps so we made this video.

https://www.youtube.com/watch?v=z17ylYSo4aE

This should help your problems!

Instruction Aids

Here are some tips to read alongside the manual in order to make your WorkMate build easier.

  1. The WorkMate has two leg pieces that come mostly assembled. These are held together with cross-members that are about 4 inches from the floor. Keep in mind that there are two different cross-members — one for the front and one for the back!
  2. The workbench slides to open and close. It has a nut, bolt, and washer combination that you must install to make this possible. When doing so, don’t forget the large plastic washers! Black+Decker calls them “spacers” and they are easy to forget. Without them the bench won’t open and close smoothly.
  3. The wood on the top of the bench has 4 pieces that go under it. These are the vice slides, and they look like large plastic blocks. There are 4 of these blocks but 2 kinds of block! One set with a large circle sticking out goes in the front of the bench and the other set goes in the back of the bench.
  4. The slide blocks essentially rest on top of the bench until you add the self-tapping bolts (ones used without nuts) to tighten them down.
  5. There are two long metal threaded rods that move the clamp piece. Our instructions in the video install these as late as possible in order to make the assembly easier. This is a slight change from the included paper directions, but the end result is the same!

Hopefully this will help you put together your WorkMate 125! The total process should take about 30 minutes the first time. The next time will be about half that!

Filed Under: Tools Last Modified: June 24, 2021

Primary Sidebar

Table of Contents
1 How To Build A WorkMate 125 Video
2 Instruction Aids
About Our Site And Expertise

Recent Posts

  • Which Sodastream and Soda Makers Have Stainless Steel Bottles?
  • Which Sodastream and Soda Makers Have Glass Bottles? [2024 Update]
  • The Quietest Fans For Sleeping and Working At Home
  • Branch Ergonomic Office Chair Review (Update: 3 Years Of Use)
  • Are Wera Screwdrivers Worth The Money?

Categories

  • Air Purifiers
  • Baking
  • Bathroom
  • Bedding
  • Cars
  • Children
  • Coffee
  • Computers
  • Cooking Equipment
  • DIY
  • Food and Drinks
  • Furniture
  • Garage
  • Garden
  • Glue
  • Health and Wellness
  • Home Appliances
  • Home Improvement
  • Kitchen Appliances
  • Kitchen Tools
  • Laundry
  • Lighting
  • Linens
  • Mattresses
  • Organization
  • Outdoors
  • Security
  • Storage
  • Tools
  • Water Filters
  • Work From Home

Links

  • Affiliate Disclosure

Archives

  • September 2024
  • August 2024
  • March 2024
  • February 2024
  • December 2023
  • November 2023
  • September 2023
  • April 2023
  • December 2022
  • November 2022
  • October 2022
  • September 2022
  • June 2022
  • May 2022
  • April 2022
  • March 2022
  • January 2022
  • December 2021
  • November 2021
  • October 2021
  • September 2021
  • August 2021
  • July 2021
  • June 2021
  • May 2021
  • April 2021
  • March 2021
  • February 2021
  • January 2021
  • December 2020
  • November 2020
  • October 2020
  • September 2020
  • August 2020
  • July 2020
  • June 2020
  • May 2020
  • April 2020
  • March 2020
  • February 2020
  • January 2020
  • December 2019
  • November 2019
  • October 2019
  • September 2019
  • August 2019
  • July 2019
  • October 2018
  • September 2018

Copyright © 2025 HelpAtMyHome.Com

  • Affiliate Disclosure
  • Le Creuset
  • Coway AP-1512HH Mighty
  • FIOS Battery Beeping?
  • Best Wire Strippers