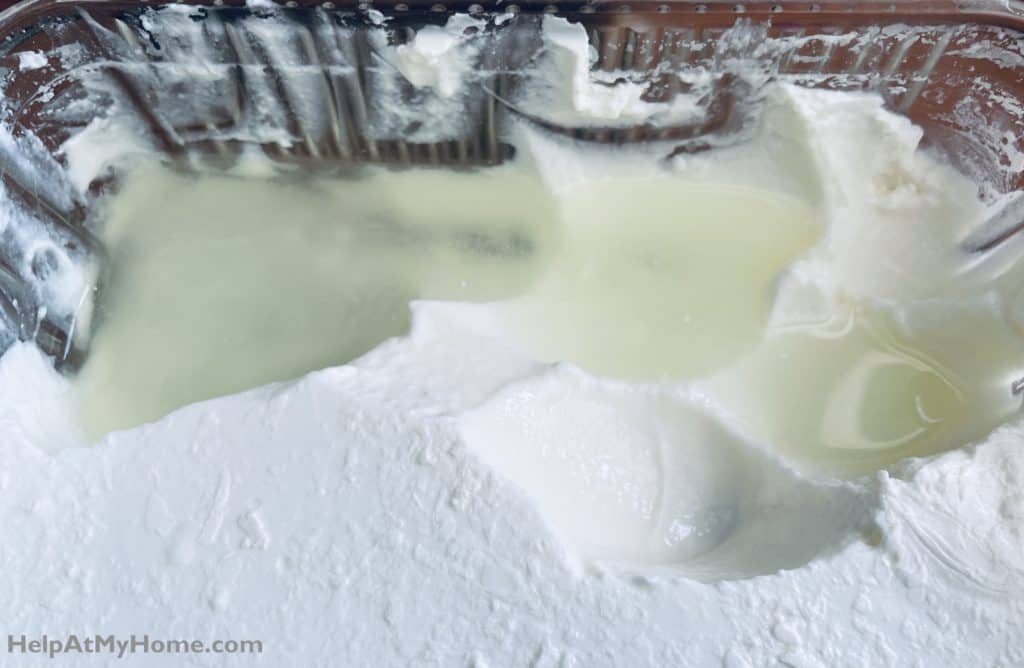
It might not seem obvious, but yogurt is one of those things that is much better than it’s homemade. Here will teach you how to make homemade yogurt and answer any questions that might come up about the process.
Making Yogurt At Home Video Tutorial
If you’d prefer video instructions, you can watch our guide.
Tools You’ll Need For Yogurt Making
One of the nice things about making yogurt at home is that no special tools are required. You definitely don’t need a yogurt maker appliance. Here is what you do need…
- Heavy bottom pot for heating the milk: I usually use a Le Creuset or Staub, but any sauce pot will do.
- Thermometer – Milk gets heated your range and then cooked, both to specific temperatures. A candy thermometer works great, but you can also use a Thermopop or meat thermometer if you already have one.
- Large glass storage container with a lid: For keeping the yogurt in your fridge when you are all done
And that’s it, aside from common items, like a spoon.
The Milk
Yogurt is almost entirely made of milk. As a result, the simple fact is that the better your milk is, the better your yogurt will be.
What does “better” mean in terms of milk? It often means you should buy the most expensive milk you can get, but the price is just a proxy for organic and/or local and/or grass-fed milk from a provider you trust.
You want to use whole milk. The higher the fat percentage, the smoother and tastier the yogurt. Whole milk has about 3.25% fat, at a minimum, with higher quality milks being, generally, fresher, sweeter, and creamier.
Milk is largely a local product you you’ll have to find the best near you. You will definitely notice a difference in your yogurt so it you can’t tell from price alone then make a few batches of yogurt and test one result against the other.
I can tell you one tip though: A very high quality milk will make a much better cappuccino than a lower quality milk. So if you have a way to froth and steam milk, you’ll know the quality in under a minute.
The Yogurt Starter
Yogurt is fermented with bacteria, which means that it has to start with a culture. This culture is added to a growth medium which is an ideal home for the bacteria — in this case it’s warm milk.
The best place to get a live yogurt culture is from someone else’s homemade yogurt. This isn’t always possible though, so there are other methods.
One method is with a commercial yogurt starter. These are sold online, in health stores, and some supermarkets. They cost about $10 and they work fairly well.
Another method is to start your yogurt with yogurt you buy at the store. This isn’t straightforward because you need a live culture yogurt, otherwise your yogurt won’t “live” through more than a generation or two. The means you need a yogurt like Erivan, which has a live culture acidophilus. The brand might vary based on your area, but the label should make it clear it’s live culture and then the texture and taste of the yogurt will make it even more clear.
Remember, commercial yogurt, like Danon and Siggi’s might taste great, but they aren’t a good starting point for your homemade yogurt. You need a live culture to build a healthy, lasting yogurt culture.
Note: After you have your homemade yogurt, you don’t need any more starter because you can use your old yogurt as starter!

The Ferment
Yogurt needs time to ferment — this is when the bacteria does its work. But there is some nuance to how this works.
Bacteria is more active at optimum temperatures (above around 115 degrees F), which means its fermented faster. Bacteria will ferment at temperatures above freezing and under 125 degrees (or so) but the lower the temperature, the slower the process.
What this all means is that you might have an ideal ferment in 8 hours if you take your 125 degree yogurt, add the starter and then keep the temperature as stable as possible by wrapping the container in a beach towel and then putting the towel in your oven.
Alternatively, you could wrap the yogurt in a towel, and leave the towel on your counter for, say, 10 hours, with the expectation you can get the same ferment at a lower temperature by adding two additional hours.
Yogurt will continue to ferment once you put it in your refrigerator, but the process will be much, much slower. This means that if you make yogurt and put it in your fridge, it’ll be thicker and more sour in two weeks than it is today.

The Yogurt Making Process Step-By-Step
Yogurt making is a simple, straightforward process you just need to follow the directions and learn how the process will work at your home with your tools.
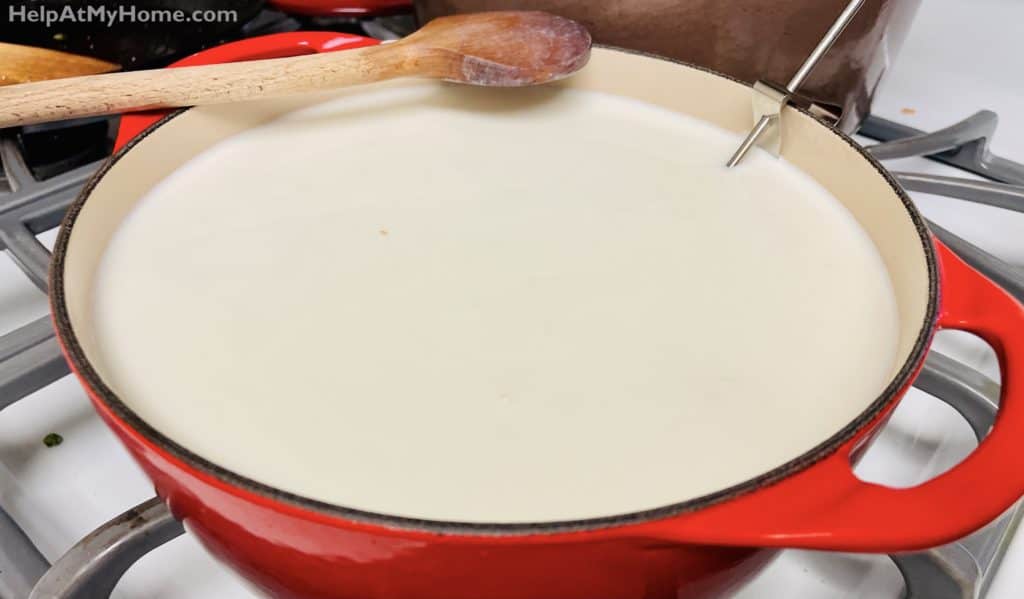
- Get a half-gallon of milk and heat it over medium-low heat in your sauce pot. Stir occasionally.
- Use your thermometer to measure for when the milk gets to 180 degrees F. If you have a candy thermometer you can stand it up on the side of the pot and measure continuously.
- When the milk hits 180 degrees (or a bit before, since it’ll continue to rise a little) turn off the heat. The milk needs to cool to 120 degrees F. The cooling will happen faster if you transfer the milk to the glass container that you will use for storage.
- If you haven’t already, put the milk in its storage container
- When the milk is about 120 degrees F add your starter. This can be your previous yogurt, live culture yogurt, or anything else described above. Add 2H heaping tablespoons and give it a good stir.
- Put the lid on the container and wrap the yogurt in a towel. You want to keep it at temperature for as long as possible. If you prefer, you can put the yogurt container in your oven and turn the oven light on.
- Let the yogurt sit and ferment overnight. If your home is cooler you might want 12 hours. If you want your yogurt to be more sour, let it sit longer.
- Remove the yogurt from the towel, giving it a slight wiggle to confirm it’s the right consistency. You’ll know the yogurt didn’t work if it’s still liquid!
- Put the yogurt in the fridge. It’s ready to eat when it’s cool.
My Yogurt Didn’t Work – Now What?
One downside of making yogurt at home is that it’s not that uncommon for the process to fail. Once you get the hang of yogurt making, this should be a rare occurrence but it’s far from unheard of, especially if you aren’t paying close attention during the heating and cooling.
In this case “failing” almost always means the yogurt didn’t solidify and you wake up the next day to find a glass container of slightly thickened milk. The important thing to understand is why did the yogurt fail to ferment.
The number one culprit with yogurt failures is the starter. If you are starting with a commercial culture, it might be expired or just not that effective. If you are starting with a yogurt you purchased, it might not be live culture, or the cultures might not be healthy enough to do another ferment.
The second failure point is often the heating and cooling process. There is some buffer room here, but if you aren’t paying attention during the heating and cooling you can easily leave the optimum temperature range for the milk. Heating to 180 degrees F is best and then cooling to 115-120 degrees before adding the start is similarly ideal.
If your milk goes above 200 degrees F or below 105 then you could have some problems. Cool milk can be reheated but if it gets too hot proteins in the milk can be damaged, preventing any yogurt formation.
Lastly, fermenting storage is important as well. If it’s the winter and your kitchen is falling below 65 degrees F at night, you might need to extend the ferment time from 10 hours to, say, 16. Some people battle this by putting the yogurt in jars and then putting the jars in a sous vide (an immersion circulator) in order to get very consistent and predictable temperatures. This surely works get, but it’s a bit too high-tech for me.
Yogurt FAQs
How do I stop the yogurt from cooking onto my pot during heating? It’s hard to clean up!
The best way to prevent yogurt from cooking onto the bottom of your pot is by lowering the temperature and cooking more slowly. Regularly stirring will help this a well. Lastly, some people have success by melting an ice cube in the pot (while you start the heat) and then adding the milk.
Can I make Greek yogurt at home?
Yes, you certainly can make Greek yogurt. To do this you’ll want to make normal yogurt, adding about 25% to the ferment time to get a thicker, more sour yogurt. Next you’ll want to strain the yogurt with a cheese cloth and gravity in order to thicken it to your desired consistency.
Can I make labneh at home?
Yes, you can make labneh yogurt. To do this you’ll want to make normal yogurt, adding 25% to the ferment time to get a thicker, more sour yogurt. After that you can strain the yogurt, at first with gravity and then by squeezing it, to get as much liquid as possible out of it. After this you can put the yogurt in the fridge and let the liquid seep out and the fermenting continue until you have your desired labneh consistency.
How long does homemade yogurt last?
Once it’s placed in refrigerator, homemade yogurt can last for about 2 weeks before it needs to be replaced. After 2 weeks the yogurt might be OK, but it’ll be getting very sour and has a higher chance of mold.
Is homemade yogurt worth it?
Yes, homemade yogurt is well worth the effort. You can make super high quality, organic yogurt for the same price per gallon as your milk, which is generally under half the price of yogurt and you don’t need any specialty equipment. Also homemade yogurt never has any chemicals, fillers, or stabilizers.
Can I flavor homemade yogurt?
Yes, you can make fruit-on-the-bottom homemade yogurt but putting some jam or preserves in a jar, add your warmed milk, and then store the milk overnight as you normally would. Alternatively, it’s much easier to make the yogurt and then simply put it in a jar on top of the jam. You can also do this, but mix the yogurt and jam to get a fully flavored yogurt.
