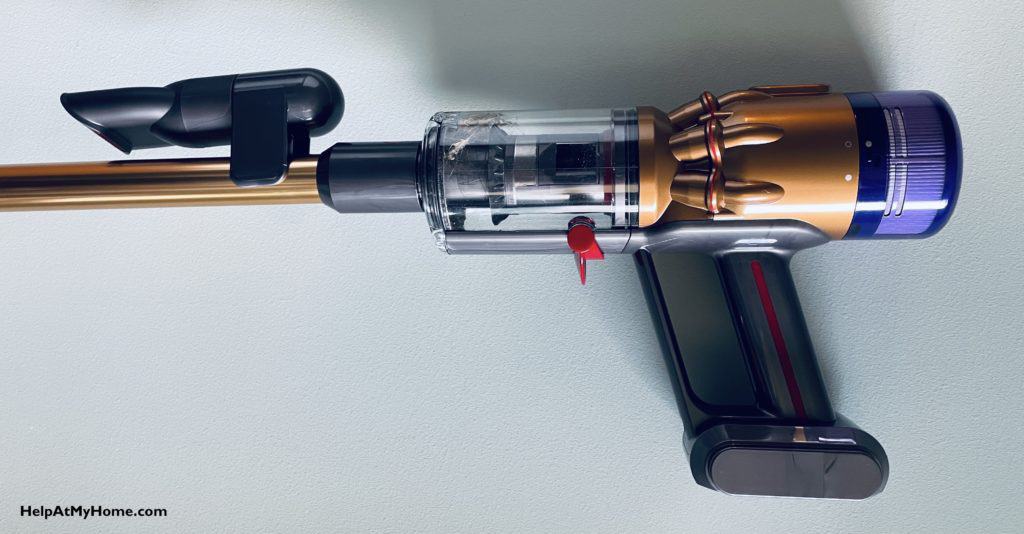
Does your Dyson cordless vacuum have the dreaded blinking red light problem? Here’w what do to when this happens.
What Is The Dyson Blinking Red Light Issue?
The Blinking Red Light problem, also known within Dyson circles as the “Blinking Red Light of Death” is when your cordless vacuum stops working entirely and the only feedback you get from the vacuum is the LED indicator light on the battery blinks red.
When this happens the Dyson:
- won’t run at all
- the motor won’t turn on
- the brushes won’t spin
- it will appear to charge like normal
So you will have a brick instead of a vacuum, but everything outwardly all appear to be fine! There will be no clogs, no physical damage… just a vacuum that doesn’t work.
The light on the battery will be blink red three or four times (it’s normally blue in color and consistent as opposed to blinking).
What Causes The Red Light Problem?
Given enough usage, every single Dyson vacuum with a battery will eventually see this issue. This is because the battery has failed in some way and it will no longer hold a charge or is no longer safe to charge so the vacuum will essentially reject the battery.
All batteries, even Dyson’s high-end lithium ion batteries fail given enough time, and the blinking red light problem is an indication that your battery has failed. The battery cannot be fixed. It has to be disposed of and replaced.
What Vacuums Are Affected?
This issue happens to any recent cordless Dyson vac including, but not limited to:
- V7
- V8
- V10
- V12
- V15
With older models, like the DC59 and the V6, a blinking red light could indicate a problem with the motor but, for the vast majority of cases, it’s going to be a battery issue.
How To Fix The Blinking Red Light Video Tutorial
Here you can watch us fix a broken Dyson V8. This model had been used heavily (as you can see from its condition) for over 4 years and it was given to us to review. We quickly identified the red light problem and took action to replace the battery. With the new battery, new filters, and a deep cleaning, this Dyson V8 went from being trash to being a very functional vacuum with years of life left.
Want to see the written instructions? Read on…
How To Fix The Blinking Red Light
Here’s how we got the Dyson V8 working again. While you are fixing the red light problem, the main part of the job will be swapping the battery.
Tools And Materials Required
To fix your vacuum you’ll need the following:
- Dyson replacement battery
- A small Phillips screwdriver (like a PH1, JISPH1, etc.)
- Optional: replacement filters, scissors for removing hair from the beater
Steps To Replace the Battery
- Remove any extension tubes and cleaning heads from the vacuum
- Empty the bin (so you don’t make a mess later on)
- Remove the vac’s clear bin. This can be done by pressing a red tab that is inside or behind the bin itself
- Locate the screws holding the battery, there are normally 3 (2 under the battery and 1 on the back of the handle)
- Pull out the battery and set it aside
- Put the new battery in its place, pressing firmly to make sure it’s secure
- Put the screws back in place
- Test the vacuum and make sure it turns on.
- If the vacuum doesn’t work, charge the battery and try again. If it still doesn’t work remove the battery and repeat steps 6 and 7
And that should be it. The Dyson vacuum should work as normal. Now you can give it a full clean, removing all the hair, washing the filters, and given the bin a deep clean.

